Battery switch on travel trailer function is crucial for managing your RV’s power. Understanding how this simple switch works can prevent costly battery drain, protect your appliances, and even enhance safety. This guide breaks down the types of switches, their operation, troubleshooting tips, and essential maintenance practices to keep your travel trailer running smoothly.
We’ll cover everything from identifying the different types of battery switches commonly found in RVs – like single-pole, double-pole, and double-throw switches – to understanding their internal workings and how they prevent cross-charging or draining between your house and chassis batteries. We’ll also walk you through safe connection and disconnection procedures, provide troubleshooting advice for common issues, and explain how to perform routine maintenance and, if necessary, replace the switch.
By the end, you’ll be confident in managing your travel trailer’s power system.
Battery Switch Types in Travel Trailers
Choosing the right battery switch for your travel trailer is crucial for managing your power systems effectively and safely. Different switches offer varying levels of control and protection, impacting how you access and utilize your batteries. Understanding the differences is key to making an informed decision.
Single-Pole Battery Switches
A single-pole battery switch is the simplest type. It’s essentially a single on/off switch controlling the connection between one battery and the trailer’s electrical system. Internally, it uses a simple mechanism—a lever or button that moves a contact to either connect or disconnect the circuit. Think of it like a light switch in your house, but for your battery.
When the switch is “on,” current flows from the battery to the trailer’s electrical system. When “off,” the circuit is broken, preventing current flow. This provides basic battery isolation, useful for preventing accidental drain when the trailer isn’t in use. However, it doesn’t offer the flexibility of managing multiple batteries or battery banks.
Double-Pole Battery Switches
A double-pole switch controls two circuits simultaneously. In a travel trailer context, this could mean controlling both positive and negative leads from a single battery, providing a more complete isolation of the battery from the trailer’s electrical system. Internally, it’s like two single-pole switches working in unison; moving the lever or button breaks both positive and negative connections simultaneously.
This offers enhanced safety compared to a single-pole switch, ensuring a complete disconnect. However, it still only manages one battery. Manufacturers like Blue Sea Systems offer reliable double-pole switches for various applications. For instance, their model 7600 is a popular choice.
So, you’re planning a trip? Awesome! First things first: get yourself sorted with travel insurance. Check out Aon travel insurance for solid coverage. Then, if you’re an audiophile like me, you’ll want to consider your listening setup while traveling. A good audiophile travel setup can make all the difference in enjoying your favorite tunes on the go.
Don’t forget to pack your chargers!
Double-Throw Battery Switches
Double-throw switches are more advanced, allowing you to switch between two different power sources (e.g., two batteries or a battery and shore power). Internally, these switches have two positions, each connecting to a different circuit. Imagine a three-way switch in your house; it allows you to control a light from two different locations. Similarly, a double-throw battery switch allows you to easily select which battery or power source feeds your trailer’s electrical system.
This is particularly helpful when you have a house battery and a deep-cycle battery for extended camping. Many RV supply stores carry these switches; however, specific models vary widely.
| Switch Type | Features | Advantages | Disadvantages |
|---|---|---|---|
| Single-Pole | On/Off control of one battery | Simple, inexpensive | Limited functionality, basic safety |
| Double-Pole | Simultaneous on/off control of both positive and negative leads from one battery | Improved safety, complete battery isolation | Still only manages one battery |
| Double-Throw | Switching between two power sources | Flexibility, efficient power management | More complex, potentially more expensive |
Function and Purpose of the Battery Switch: Battery Switch On Travel Trailer Function
The battery switch in your travel trailer is a crucial component for managing the power flow between your two main power sources: the house battery and the chassis battery. Understanding its function is key to preventing electrical problems and ensuring safe operation of your RV. Think of it as a gatekeeper, controlling the electricity and protecting your batteries from each other.The primary function of the battery switch is to isolate or connect the house battery (powering interior lights, appliances, and other 12V systems) and the chassis battery (powering starting the tow vehicle’s engine).
This isolation is vital to prevent the house battery from draining the chassis battery, and vice-versa. In the “off” position, both batteries are completely disconnected, preventing any electrical flow between them. This is important when your trailer is stored for extended periods, preventing a slow drain from one battery affecting the other. In the “house” position, only the house battery is connected to the trailer’s electrical system.
In the “both” position, both batteries are connected, allowing the chassis battery to charge the house battery (usually through the vehicle’s alternator during travel) and vice-versa. This also permits the use of both batteries to power higher-demand devices.
Preventing Cross-Charging and Draining
Improperly configured or used battery switches can lead to unwanted cross-charging or draining between the house and chassis batteries. For instance, if the switch is left in the “both” position while the trailer is not connected to the tow vehicle, the house battery may drain the chassis battery, potentially leaving you stranded if you need to start your vehicle.
Conversely, a malfunctioning switch might allow the chassis battery to constantly drain the house battery, even when the trailer is disconnected from the vehicle. A correctly functioning switch ensures that power flows only as intended, preventing these scenarios. Regularly checking the switch’s position and functionality is a crucial part of RV maintenance.
Safety Implications of Improper Usage and Maintenance
Neglecting proper battery switch operation can lead to several safety hazards. Leaving the switch in the “both” position while the trailer is in storage could completely drain both batteries, rendering them unusable. This could leave you without power for essential systems like interior lights or the water pump. Furthermore, a short circuit caused by a faulty switch could lead to overheating, fire, and potentially serious injury.
Regular inspection of the switch for corrosion, loose connections, and proper operation is paramount to ensure safe and reliable power management in your travel trailer. A visual inspection should be conducted before each trip and during routine maintenance checks.
Connecting and Disconnecting Batteries
Connecting and disconnecting your travel trailer’s batteries requires careful attention to safety. Improper handling can lead to sparks, short circuits, and even injury. This section details the correct procedure, emphasizing safety precautions to ensure a smooth and hazard-free process. Always remember to prioritize safety when working with electricity.
The following steps Artikel how to safely connect and disconnect your batteries using a typical battery switch. This process assumes a standard two-battery setup with a switch controlling both. If your setup differs, consult your owner’s manual or a qualified technician.
Safe Battery Connection Procedure
Before beginning any work, ensure the battery switch is in the “OFF” position. This prevents accidental short circuits and ensures your safety. Always wear appropriate safety glasses to protect your eyes from potential splashes of battery acid.
- Step 1: Prepare the Batteries. Inspect the battery terminals for corrosion. Clean any corrosion using a wire brush and baking soda solution. Ensure the terminals are clean and free from debris.
- Step 2: Position the Switch. Turn the battery switch to the “OFF” position. This is crucial for preventing accidental connections.
- Step 3: Connect the Positive (+) Terminal. Connect the positive (+) cable to the positive (+) terminal of the first battery. Use a wrench to tighten the connection securely, ensuring a firm and corrosion-free connection. Then, connect the positive cable to the positive terminal of the second battery, again ensuring a tight connection.
- Step 4: Connect the Negative (-) Terminal. Connect the negative (-) cable to the negative (-) terminal of the second battery. Secure the connection with a wrench. Then, connect the negative cable to the negative terminal of the first battery, tightening securely.
- Step 5: Turn the Switch ON. Once both positive and negative cables are securely connected, turn the battery switch to the “ON” position.
Safe Battery Disconnection Procedure
Disconnecting the batteries is equally important and should be performed with the same level of care and attention to detail. Always disconnect the negative (-) terminal first to prevent sparks and short circuits.
- Step 1: Turn the Switch OFF. Turn the battery switch to the “OFF” position. This isolates the batteries from the trailer’s electrical system.
- Step 2: Disconnect the Negative (-) Terminal. Carefully disconnect the negative (-) cable from the negative (-) terminal of the first battery, followed by the second battery.
- Step 3: Disconnect the Positive (+) Terminal. Disconnect the positive (+) cable from the positive (+) terminal of the first battery, followed by the second battery.
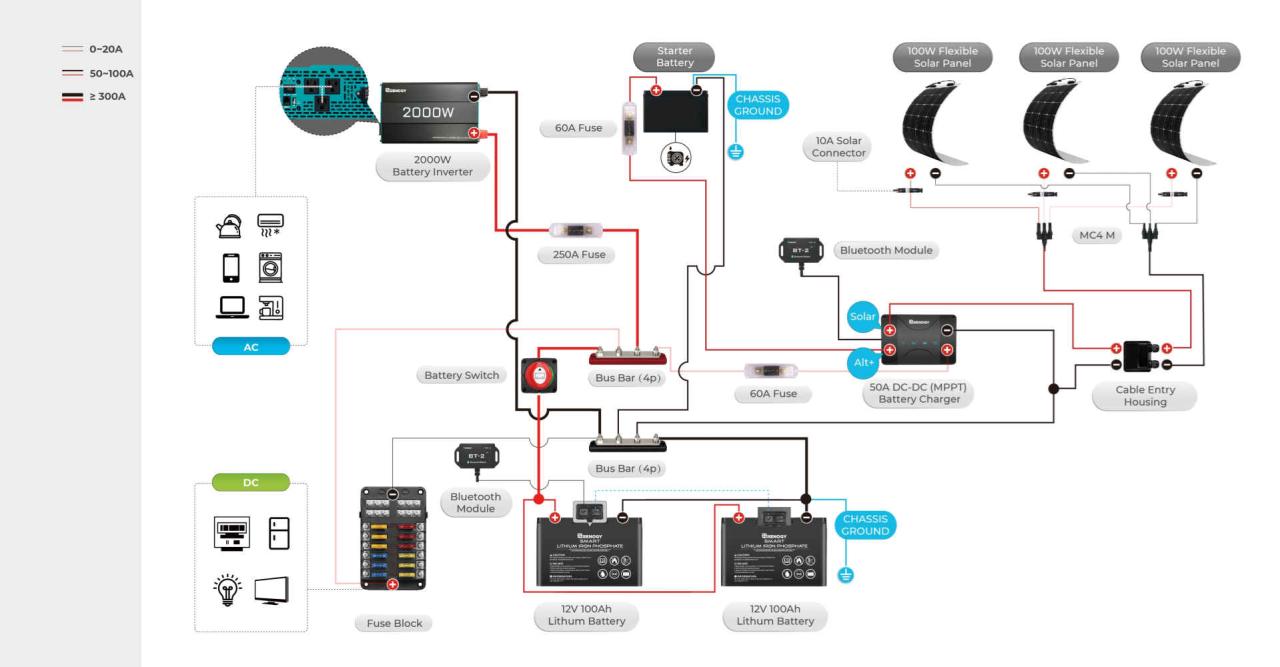
Visual Guide and Terminal Connections, Battery switch on travel trailer function
Imagine a diagram showing two 12V batteries labeled Battery 1 and Battery
2. Each battery has a positive (+) and negative (-) terminal. A battery switch is depicted with three positions: OFF, Battery 1, and Battery 2/Both. A thick red cable represents the positive (+) connection, and a thick black cable represents the negative (-) connection. The positive cables from each battery connect to one side of the switch, and the negative cables connect to the other.
The output from the switch then connects to the trailer’s electrical system. When the switch is in the “ON” position, both batteries are connected in parallel to the trailer’s system. The diagram clearly shows the flow of current and how the switch controls the connection. The terminals are clearly labeled with “+” and “-” symbols, and the cables are color-coded for easy identification.
This visual representation aids in understanding the connection process.
Troubleshooting Common Battery Switch Issues
Your travel trailer’s battery switch is a crucial component, ensuring you can easily switch between your trailer’s battery and the tow vehicle’s charging system. Problems with this switch can leave you stranded with dead batteries, so understanding how to troubleshoot them is essential. This section covers common issues and their solutions.
Troubleshooting a faulty battery switch often involves a process of elimination, checking for the most common problems first. Remember to always disconnect the negative battery terminal before working on any electrical components for safety.
Corrosion on Battery Terminals and Switch Connections
Corrosion is a frequent culprit in battery switch malfunctions. Over time, exposure to the elements can cause a buildup of corrosive materials on the battery terminals and the switch’s connections, hindering the flow of electricity. This can manifest as a weak or completely absent connection.
Diagnosing this issue is straightforward: visually inspect the battery terminals and the connections at the switch itself. Look for white, green, or blue powdery deposits. If corrosion is present, you’ll likely find that the switch either doesn’t work properly or the battery voltage is significantly lower than expected.
- Clean the terminals and connections using a wire brush and baking soda paste. Apply the paste, scrub thoroughly, and rinse with clean water. Allow everything to dry completely before reconnecting.
- Apply a corrosion inhibitor to the cleaned terminals and connections to prevent future corrosion.
- If the corrosion is severe, consider replacing the battery terminals or even the switch itself.
Loose Connections at the Battery Switch
Loose connections, similar to corrosion, impede the flow of electricity and can lead to inconsistent operation or complete failure of the battery switch. Vibrations during travel can loosen these connections over time.
To diagnose loose connections, carefully inspect all the wiring and terminal connections at the switch. Gently wiggle each wire and terminal; any movement indicates a loose connection. You may need a multimeter to check for continuity across the connections.
- Tighten any loose screws or terminal connections. Ensure a firm and secure connection.
- If the terminals are damaged or worn, replace them.
- If the wires themselves are damaged, replace the affected section of wiring.
Battery Switch Failure
Sometimes, the battery switch itself may fail due to internal damage or wear and tear. This can manifest as an inability to switch power on or off, or intermittent operation.
So, you’re planning a trip? Awesome! First things first: get yourself sorted with travel insurance. Check out Aon travel insurance for solid coverage. Then, if you’re an audiophile like me, you’ll want to look into your travel setup. Seriously, a good audiophile travel setup can make or break your journey.
Don’t forget to pack your favorite headphones!
Diagnosing switch failure requires a combination of visual inspection and testing. Check for any obvious signs of damage, such as cracks or burns on the switch casing. You may also need to use a multimeter to check the continuity of the switch in different positions (on/off). If the switch fails to consistently conduct electricity when in the ‘on’ position, it’s likely the switch is faulty.
- Replace the faulty battery switch with a new one of the same type and amperage rating.
- Ensure the new switch is properly wired according to the manufacturer’s instructions.
Battery Switch Maintenance and Replacement
Keeping your travel trailer’s battery switch in good working order is crucial for reliable power. Regular maintenance prevents problems and extends the lifespan of the switch, saving you from costly repairs down the road. Neglecting maintenance can lead to corrosion, malfunction, and even fire hazards.Regular maintenance involves a simple cleaning and inspection schedule, while replacement is a straightforward process if you encounter a faulty switch.
Understanding both procedures ensures you can keep your trailer’s electrical system running smoothly.
Battery Switch Maintenance Schedule
A simple routine check-up can prevent many issues. Ideally, you should inspect your battery switch at least twice a year, or more often if you live in a humid or salty environment. This inspection should include both visual and functional checks.
- Visual Inspection: Look for signs of corrosion around the terminals and the switch itself. Corrosion appears as a whitish-green or bluish-green powdery substance. Check for any loose wires or damaged components.
- Cleaning: Use a wire brush to remove any corrosion from the terminals and the switch housing. A baking soda and water paste can help neutralize the acid in the corrosion. Thoroughly clean the area with a damp cloth after brushing and applying the paste.
- Functional Test: Turn the switch on and off several times, ensuring it clicks firmly into each position. Check your battery voltage to confirm the switch is properly connecting and disconnecting the battery. A significant voltage drop when the switch is “off” indicates a problem.
- Tightening Connections: Ensure all terminal connections are tight. Loose connections can lead to overheating and further corrosion.
Replacing a Faulty Battery Switch
Replacing a battery switch is a relatively easy task, but it’s important to disconnect the battery to prevent electrical shocks. The tools you’ll need are simple and readily available.
Tools and Safety Precautions
Before beginning, always disconnect the negative (-) battery cable first. This prevents accidental short circuits. You’ll need the following:
- A new battery switch of the same type and amperage rating as the original.
- A wrench or socket set appropriate for the terminal nuts and bolts on the switch.
- Wire cutters/strippers (if necessary for new wiring).
- Electrical tape or heat shrink tubing (for secure connections).
- Safety glasses.
Step-by-Step Battery Switch Replacement
- Disconnect the Battery: Disconnect the negative (-) battery cable first, then the positive (+) cable.
- Remove the Old Switch: Carefully loosen and remove the nuts or bolts securing the old switch to its mounting location. Take note of the wiring configuration before disconnecting the wires.
- Install the New Switch: Mount the new switch in the same location as the old one, ensuring it’s securely fastened.
- Connect the Wires: Connect the wires to the new switch, matching the configuration of the old switch. Use electrical tape or heat shrink tubing to secure the connections. Double-check your connections before proceeding.
- Reconnect the Battery: Connect the positive (+) battery cable first, then the negative (-) cable.
- Test the Switch: Turn the switch on and off several times. Check your battery voltage to ensure proper operation.
Impact of Battery Switch on Various Trailer Systems
Your travel trailer’s battery switch is the central control for your DC power, acting as a gatekeeper to your trailer’s various systems. Understanding how it affects different components is key to efficient power management and preventing issues. This section will explain the power flow through your trailer’s systems with the battery switch in different positions.The battery switch’s position directly impacts which batteries power your trailer’s systems and how much power is available.
This impacts everything from the lights to the water pump. Incorrect switching can lead to dead batteries or malfunctioning appliances.
Lighting Systems
With the battery switch in the “both batteries on” position, your trailer’s lights receive power from both the house and chassis batteries, providing maximum brightness and runtime. In the “house battery only” position, lights will draw power solely from the house battery, potentially dimming slightly if the house battery is low. If the switch is in the “off” position, naturally, all lights will be off.
This simple relationship underscores the importance of correctly selecting the switch position based on your power needs and battery charge levels.
Appliance Operation
Appliances like refrigerators, air conditioners (if they run on 12V DC), and water heaters (depending on their configuration) rely on the battery switch for power. In the “both batteries on” position, these appliances receive the maximum available power. The “house battery only” position will power these appliances from the house battery alone. The switch being in the “off” position will disable these appliances entirely, preventing drain on the batteries.
For example, a large refrigerator running off a single house battery might perform poorly, resulting in less efficient cooling, while running on both batteries would ensure sufficient power for optimal performance.
Water Pump Functionality
The water pump, a crucial system for providing water to your trailer’s sinks and shower, also depends on the battery switch. Similar to other systems, “both batteries on” provides maximum power for the pump, ensuring efficient water flow. Using only the house battery (“house battery only” position) might cause reduced water pressure, especially if the house battery is nearing depletion.
With the switch off, the water pump will naturally be inoperable. A low-power pump might struggle to deliver sufficient water pressure when only the house battery is used, highlighting the importance of maintaining proper battery levels and choosing the appropriate switch position.
Mastering your travel trailer’s battery switch is key to a worry-free RV experience. From understanding the various switch types and their functions to troubleshooting common problems and performing regular maintenance, this guide provides a comprehensive overview of everything you need to know. By following the safety guidelines and maintenance tips Artikeld here, you’ll ensure your batteries stay healthy, your appliances function correctly, and your travel adventures remain smooth and enjoyable.
Clarifying Questions
What happens if I leave my battery switch in the OFF position?
Leaving the switch off completely disconnects both batteries, preventing any power drain but also disabling all 12V powered systems in your trailer.
How often should I clean my battery switch terminals?
Inspect and clean your terminals at least twice a year, or more frequently if you notice corrosion.
Can I use any type of battery switch in my travel trailer?
No, the switch must be appropriately sized (amperage rating) for your battery bank and electrical system. Consult your trailer’s manual or a qualified RV technician.
My battery switch is stuck. What should I do?
Try lubricating the switch mechanism with a penetrating lubricant. If it remains stuck, it likely needs replacement.
